Visualizing a series of events makes it much easier for attendees of your presentation to understand the time and order of events. Especially for project milestones having a timeline chart on your slides is very helpful for viewers. In this tutorial you will learn how to create your own timeline graphic in PPT. However, you can also just grab our template for free and download it below.

Video
You can either watch our video or follow the steps below:
Insert timeline
Start by inserting a simple horizontal line stretching over the entire slide. By clicking on the small arrow at the bottom right in the Format > Shape Styles menu, you can open the formatting panel with detailed settings (e.g. color, thickness, etc.).

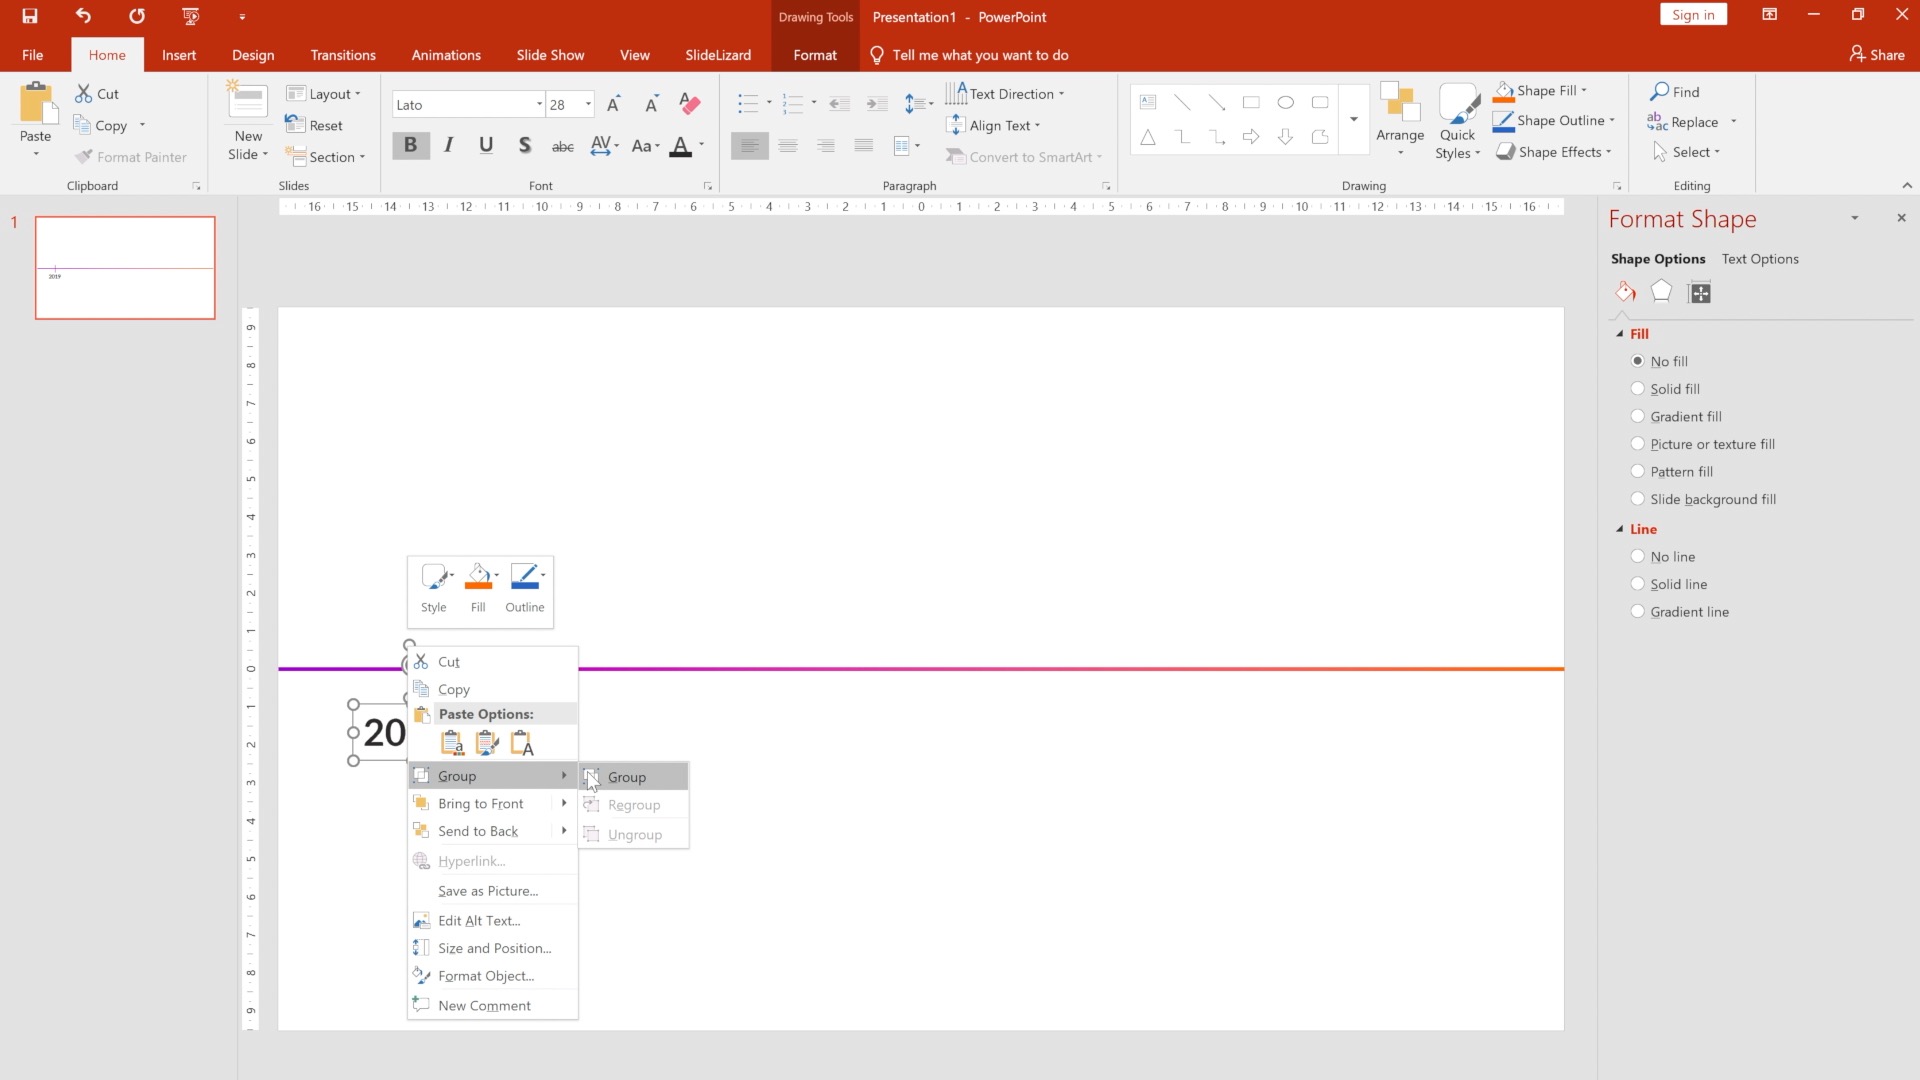
Insert vertical lines and add a time label (e.g. 2019 or today) for each of them using a text field. Then select one of the vertical lines and the corresponding text field and click on Group in the right-click menu.

Insert event indicator
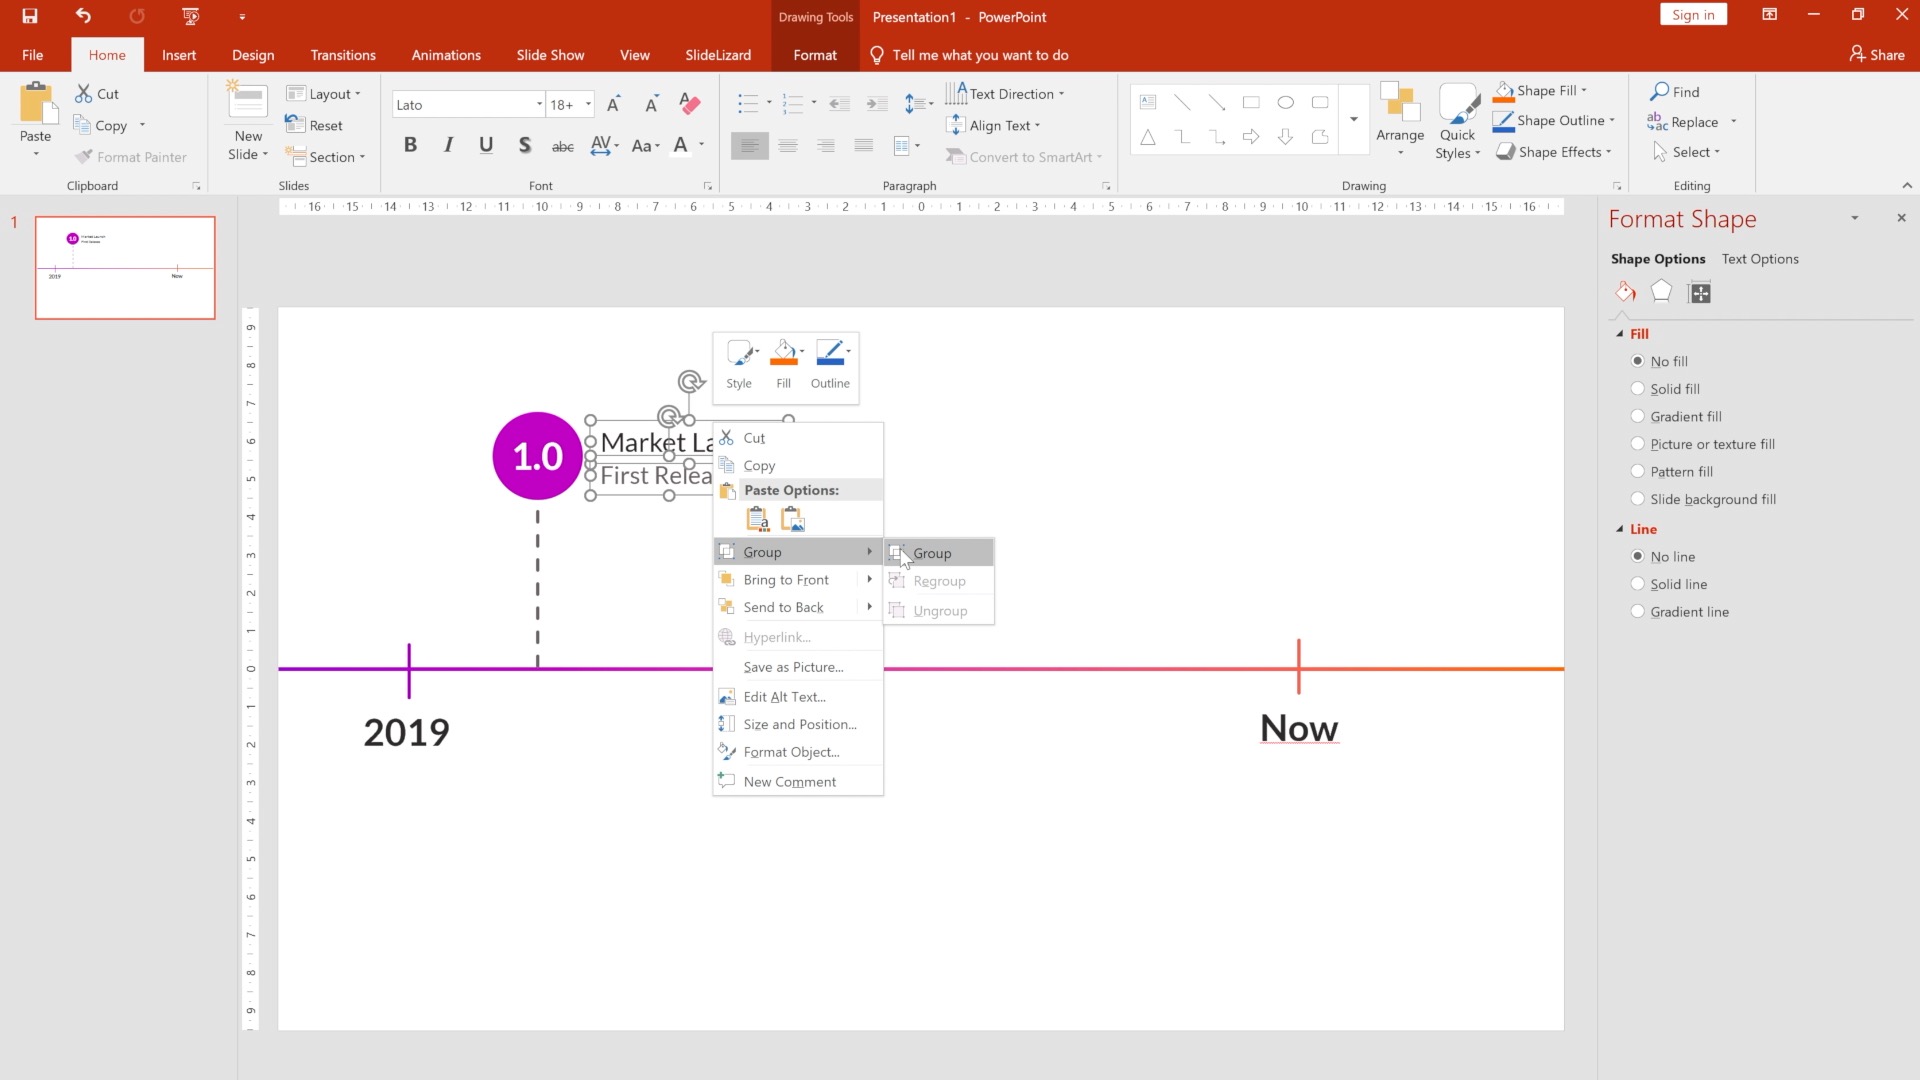
Next, add another line and a circle (tip: you can make a line dashed by switching to Solid Line in the formatting panel and choosing a different Dash type). Additionally, you can insert a descriptive text above or next to the circle. Now select the text in the circle as well as the circle itself and choose Group from the right-click menu. Do the same with the text next to it.

Animate the timeline


On the right side of the menu, you can now switch from On Click to With Previous. This guarantees that the animation starts as soon as the slide is displayed.
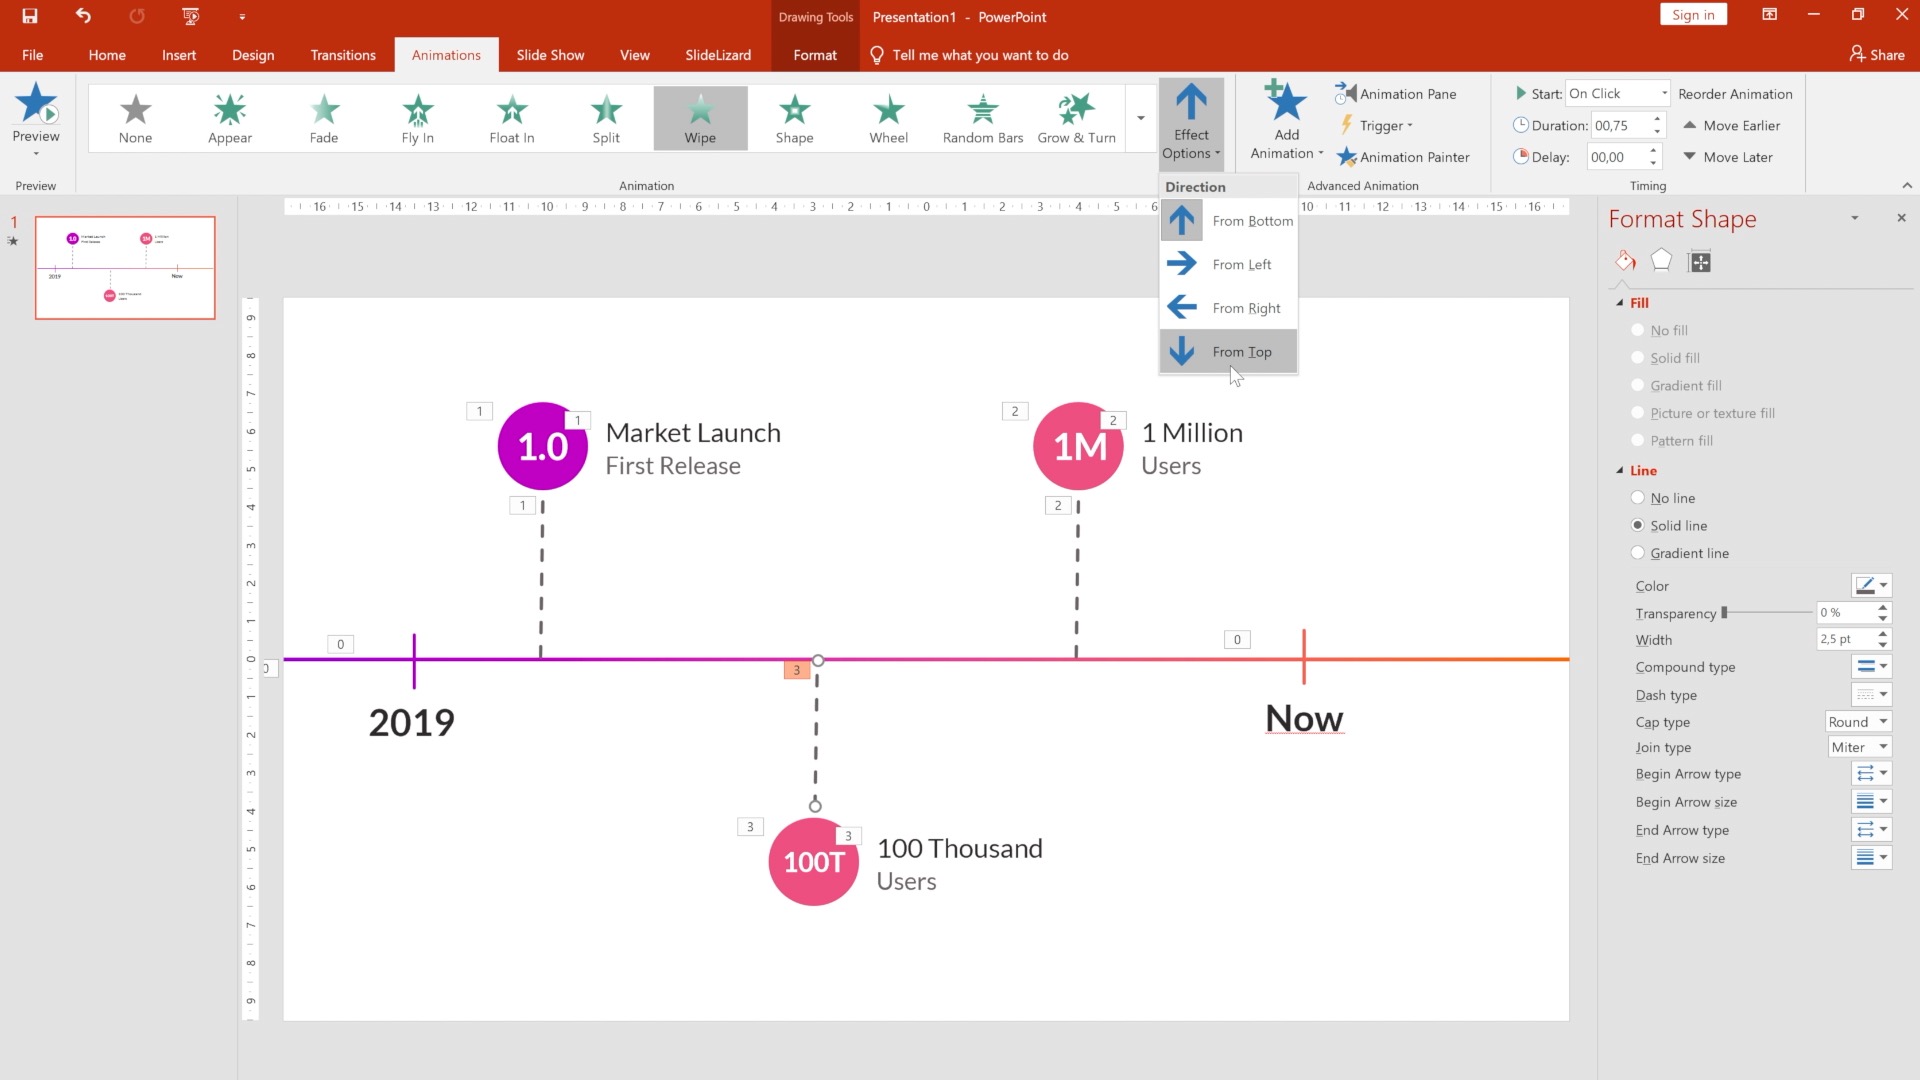
Now select the vertical lines created in the first step and choose Wipe as animation. The recommended direction here is from top to bottom. Also With Previous should be selected as animation start.
To create a smooth effect, you should set a delay for the animation (choose the time so that the appearance coincides with the animation of the horizontal line).
Animate the event indicator
Select the group with the circle and the text and set Fade as animation. As in the last step, you must also select With Previous and add a short delay. For the text next to it you can use a wipe animation from left to right, which starts shortly after the circle.
Duplicate the event indicator

Template download
Now you have an adaptable and expandable timeline that is vividly animated and can be inserted into any of your presentations!


