We all know the typical PowerPoint transitions that everyone uses, but there are other interesting animations that will make your presentation more appealing and of higher quality. One of these animations is the so-called Morph.
In this PowerPoint tip of the week, we'll give you a step-by-step guide on how to use this transition. If you're curious about what it does, check out our new video!
Step by Step Guide
Using an example with an image gallery we want to show you how you can use the PowerPoint Morph transition to create great looking presentations.
- Insert the desired images into your PowerPoint slides.
- Now copy (Ctrl + C) all graphics that should receive the morph effect into one common slide (past them with Ctrl + V). For this you can think of a creative layout and design it appealing. Like in the short video clip at the beginning, this will be the "overview slide" to which each slide returns before the next one is displayed.
- You can now design the remaining slides as you wish. The only important thing is that the respective image has been copied in the overview slide, so that PowerPoint recognizes that it is about the same element.
- If you are happy with your PowerPoint, copy the Overview slide and paste it between the individual slides.
- Now select the Morph in the Transitions tab.
- Adjust the display and transition duration and then select Apply to all.
- Now each graphic is transferred from the overview slide to the following slide. This gives your presentation more energy and makes for more variety!
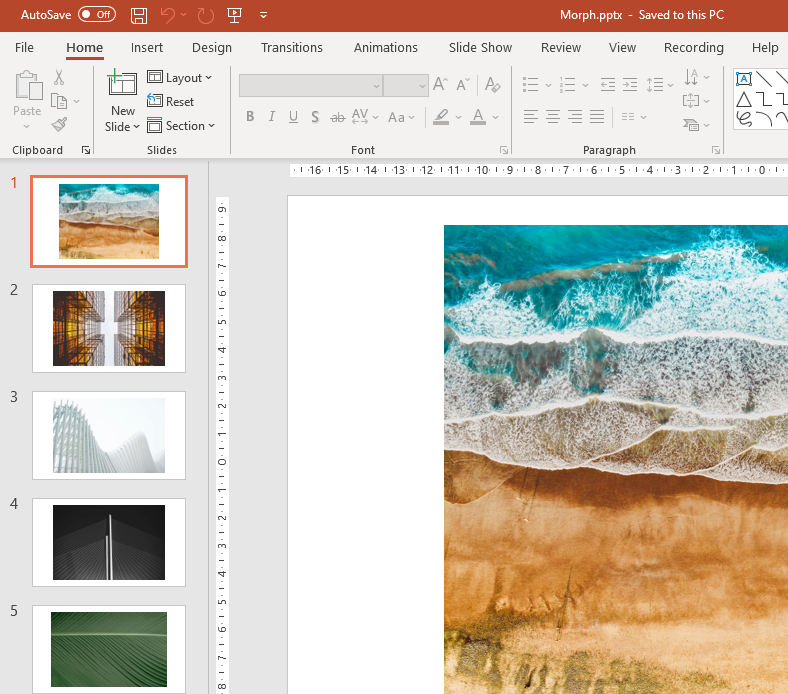
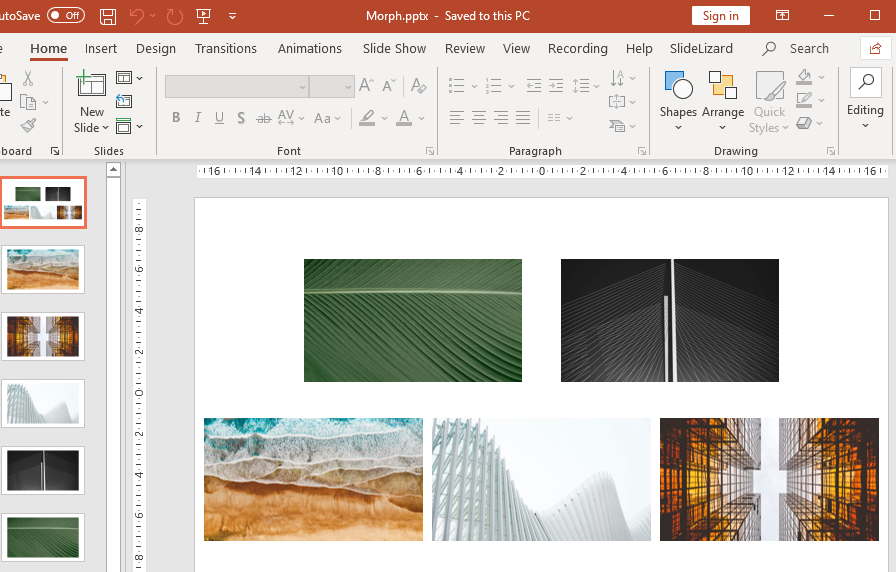
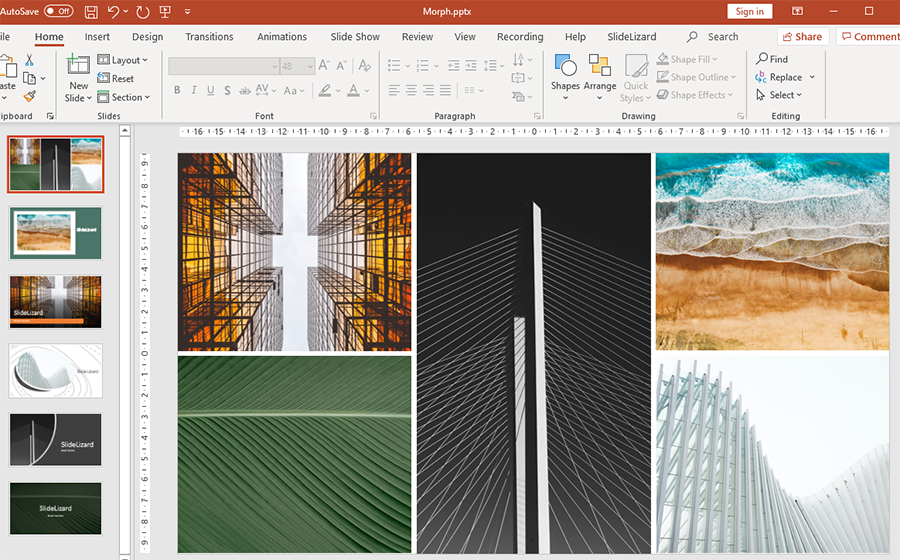
Note: The formatting is completely irrelevant here! So it does not matter if you crop the image, distort it, use a filter or resize it.

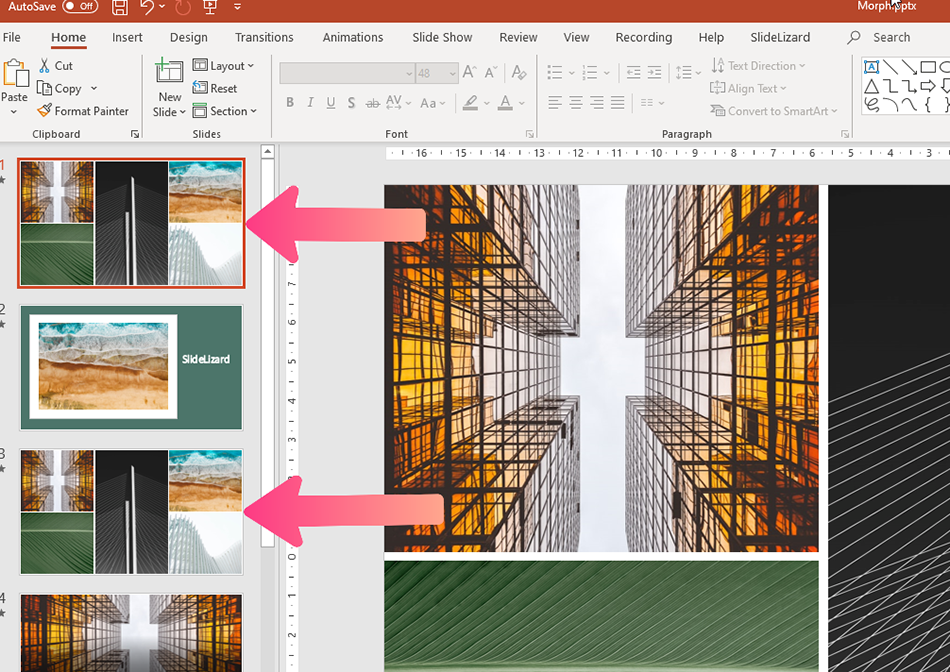
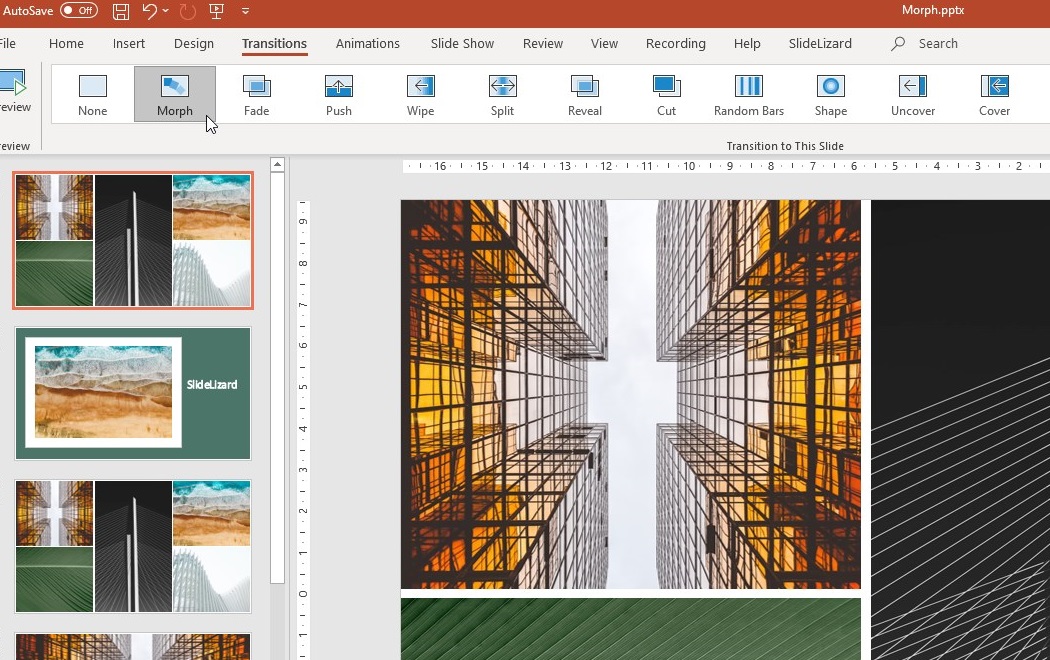
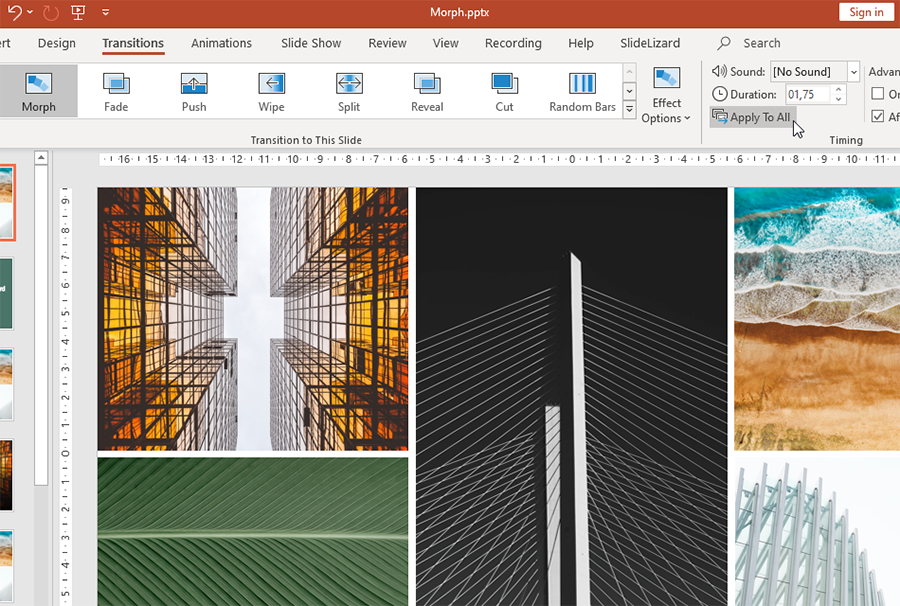
Note: If not all slides should get the morph, you have to set the transition individually. To speed this up, press the Ctrl key and select the desired slides on the left side of the overview. Now they are selected and can apply the morph.
Further application possibilities
The morph also works with copied shapes or texts! To do this, proceed in the same way as with images.
Here, for example, we have the same picture on the first slide in black and white and on the following one in color:


