Want to add some variety to your PowerPoint presentation? Then you’ve come to the right place! Just putting images into a presentation – anyone can do that! If you, however, want to show them in an appealing design, then you should watch our new video! In this week's PowerPoint tip we give you a step by step guide on how to crop pictures into a specific shape!
Video
Simple shapes
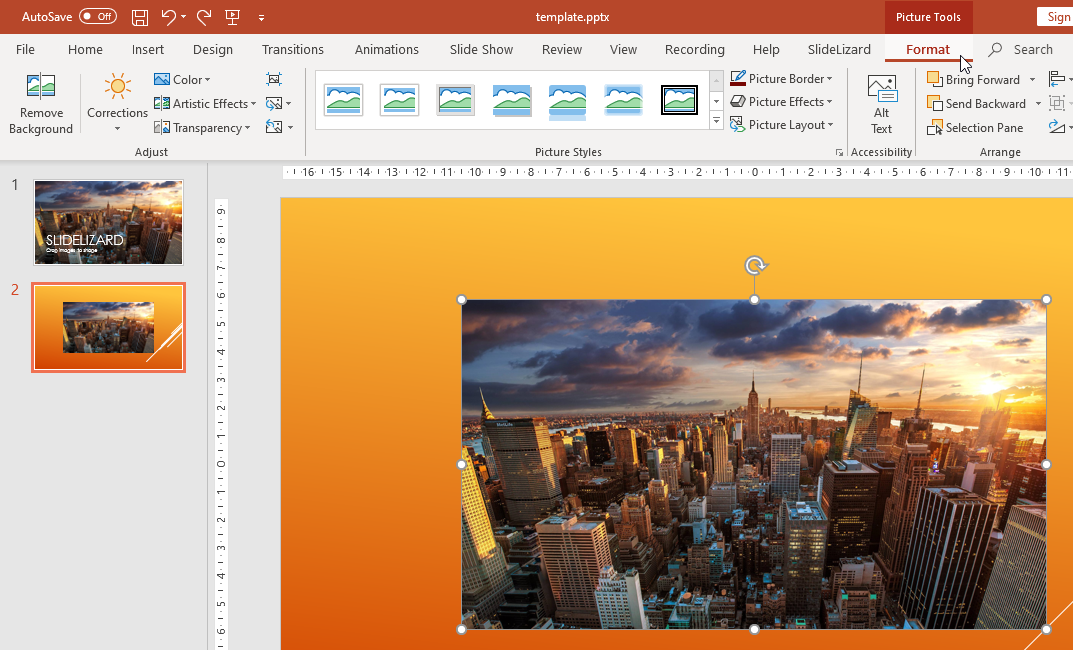
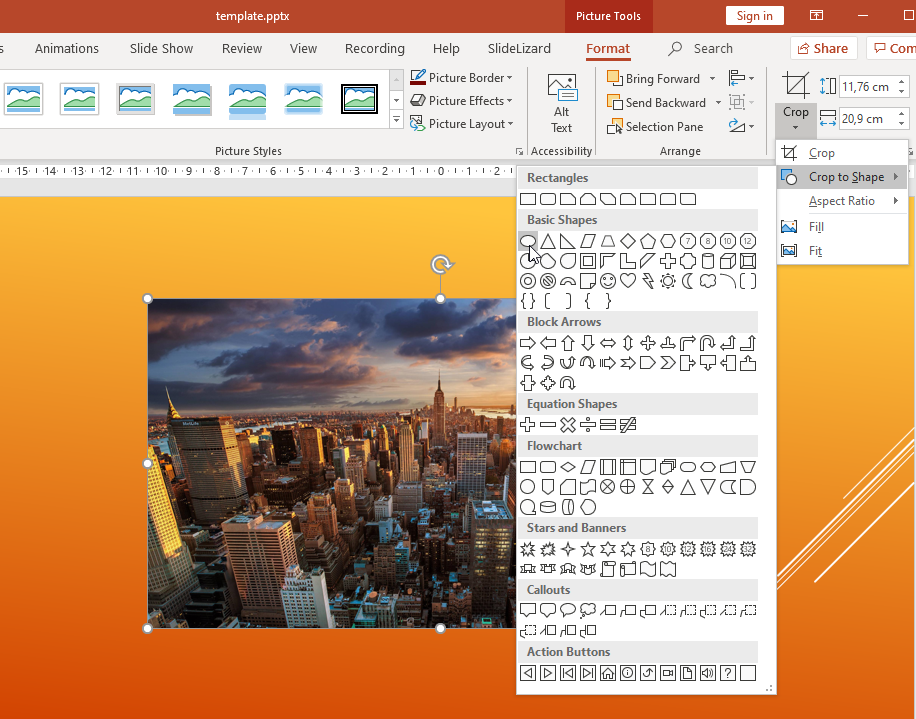
- Add the image you would like to crop and select it.
- Go to the Format tab.
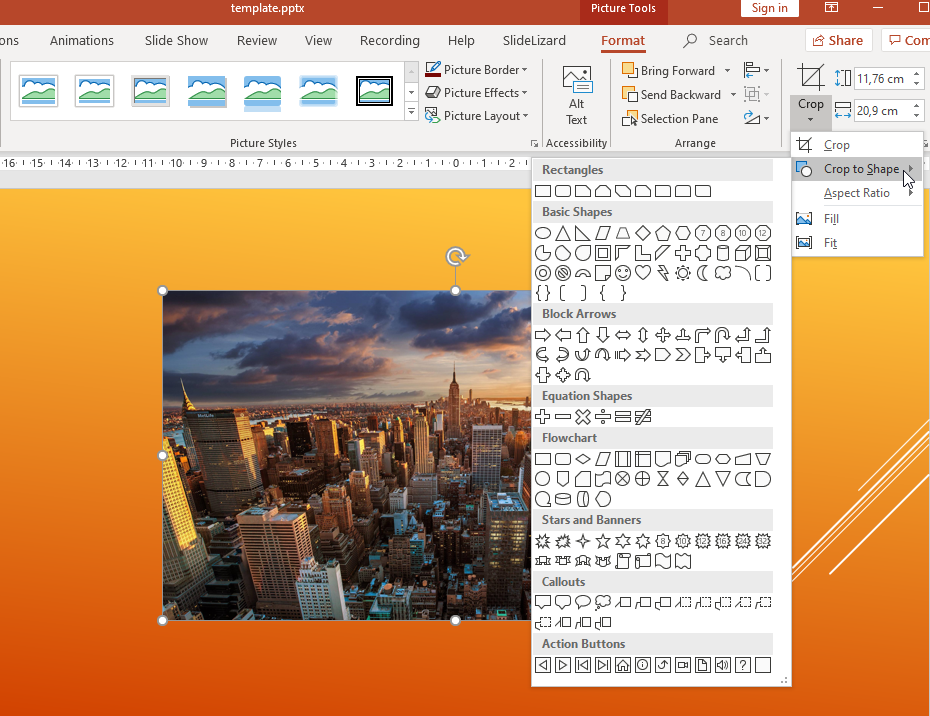
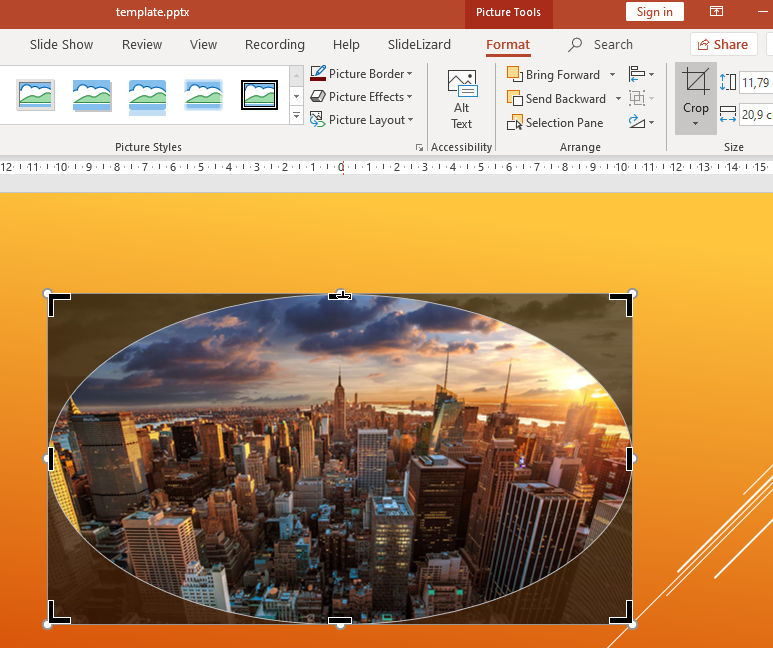
- At the very right, you’ll find the Crop tool. Select the arrow below, to open the dropdown menu.
- Go to Crop to Shape.
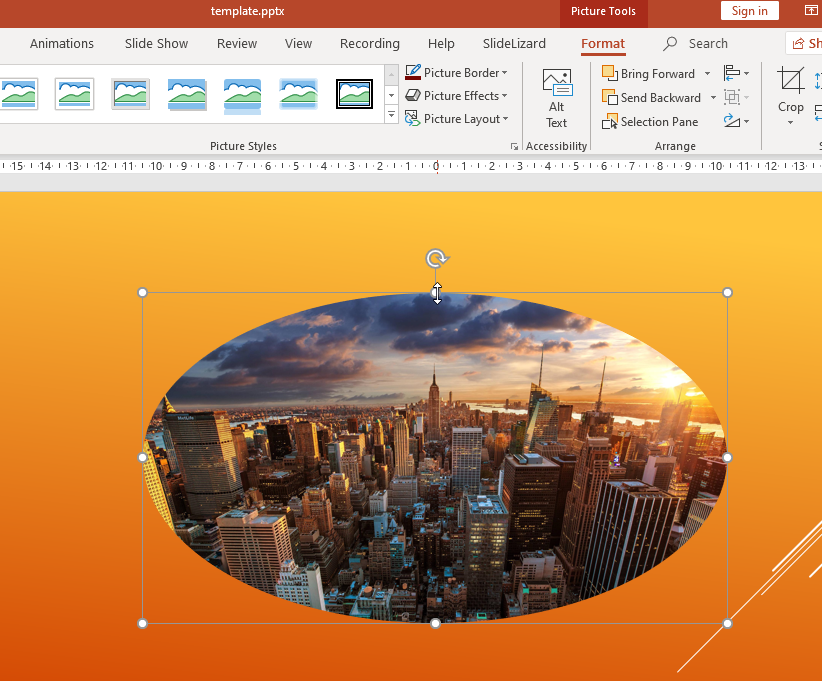
- Select the preferred shape e.g. oval.
- Now you can adjust it, depending on the shape.
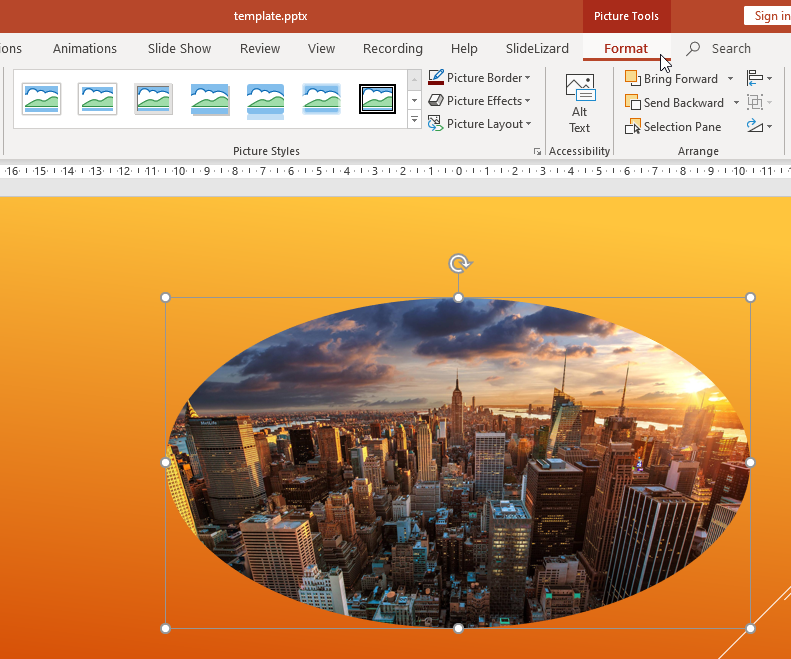
- If you want to change the aspect ratio or the zoom of your picture, select it once more and go to the Format tab again.
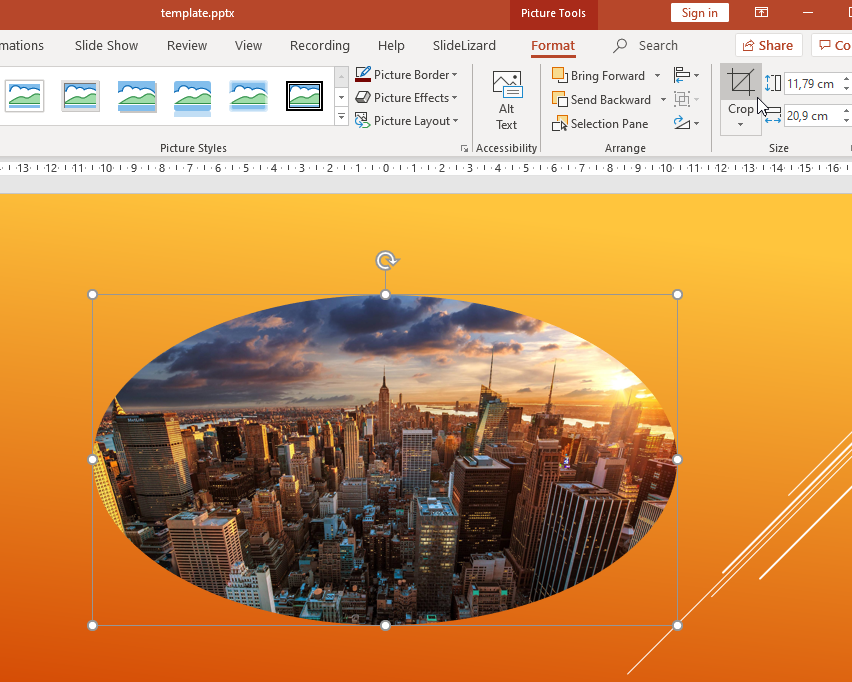
- This time select the Crop function directly.
- Now you can adjust the image as you please.
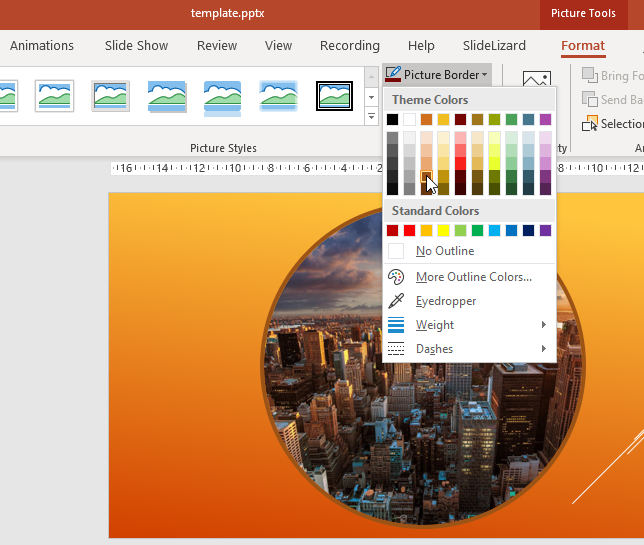
- Additional effects can be added, ike frames, reflections, shadows or glow effects. You can choose between Picture Border or Picture Effects to adjust your image.



More shape types
Other forms are of course also possible. Simply select a suitable one in Crop to shape!
Among the most used are:
- Rectangle
- Ellipse
- Circle
- Triangle
- Parallelogram
- Pentagon
- Hexagon
- Arrows
- Stars
Advanced shapes
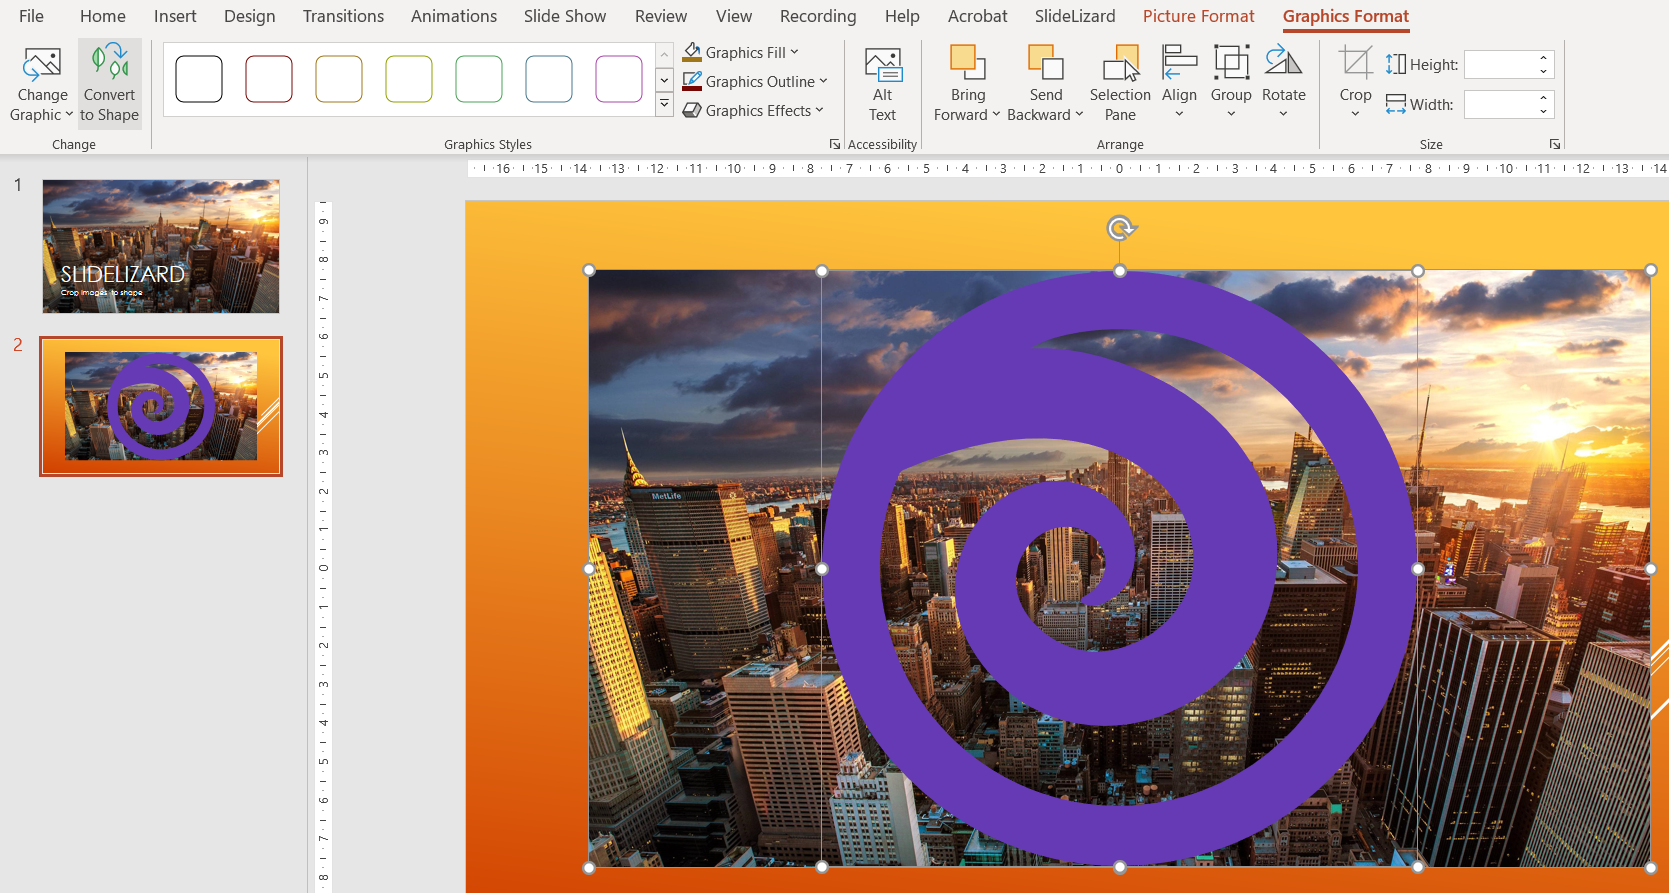
- For example, if you have created a shape yourself for your PowerPoint presentation and you want your picture to have this shape, you must first insert a picture. Next, you need to insert any shape. You can either use PowerPoint's pictograms (these can be found in the "Insert" tab in the "Illustrations" group) or you can use any SVG. You have to place this over your picture and now you have to mark the picture as well as the shape and click on convert to shape.
![convert image]()
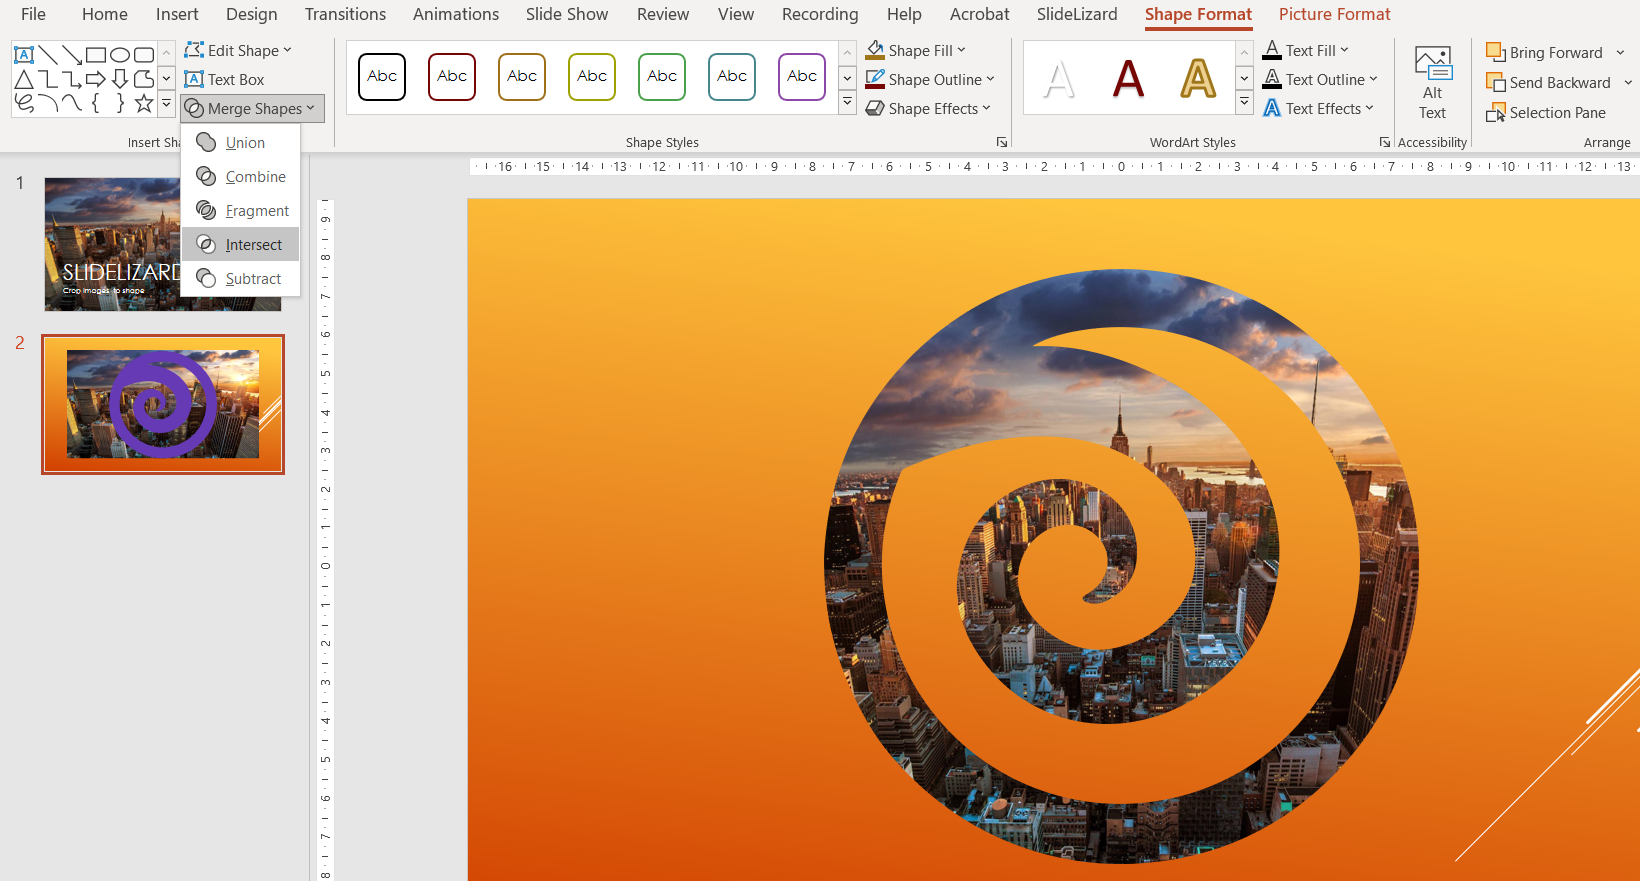
- Now go to the "Shape Format" tab. Click on "Merge Shapes" and choose "Intersect". Your image is now cropped to your custom shape.
![crop image]()

