A Venn diagram consists of overlapping circles that show similarities, differences and relationships. With the help of PowerPoint, you can insert such SmartArt graphics into your presentations without much effort. In this blog post we will show you how to create such Venn diagrams. Afterwards, you can download various templates for Venn diagrams.
-
Table of contents
Creating a Venn Diagram in PowerPoint
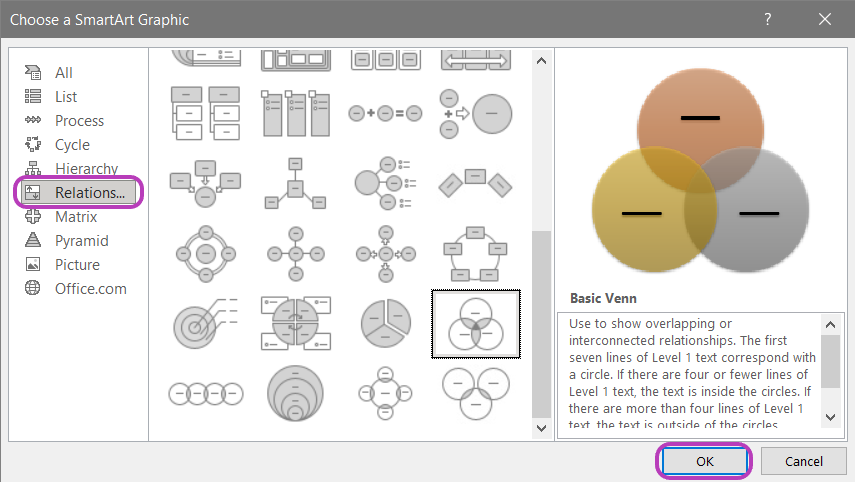
In order to create the Venn diagram, you have to go to "SmartArt" in the "Insert" tab. 
Now you have to go to "Relationships“, and you can pick out a Venn diagram layout. Afterwards you only have to click on "Ok". 
Deleting a shape
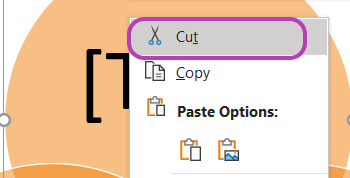
If you want to delete a circle in your Venn diagram, you have to right-click on the respective shape. Now you only have to click on "cut" and the circle is deleted.
Adding a shape
To add a shape, you have to click on "Add shape" in the "SmartArt-Design" tab. You can now insert another shape.
If you click on "Insert shape after", a circle is inserted behind the selected circle and overlaps the selected circle.
Click on "Insert shape before" to insert a circle before the selected circle that overlaps the selected circle.
Adding text to the main circles
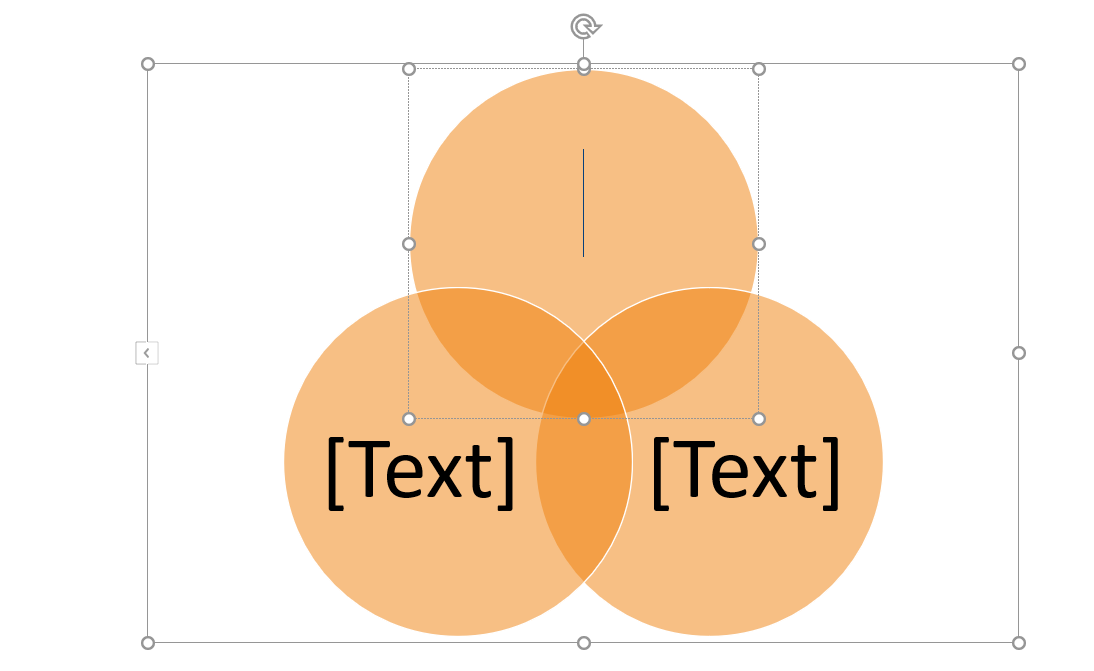
To add text to a circle, click on "[Text]" for the shape.

Adding text to the overlapping parts of a circle
To do this, you must insert a new text field. To do this, go to the "Insert" tab and click on "Text Box". Now drag your text field onto any place and you can insert your text.
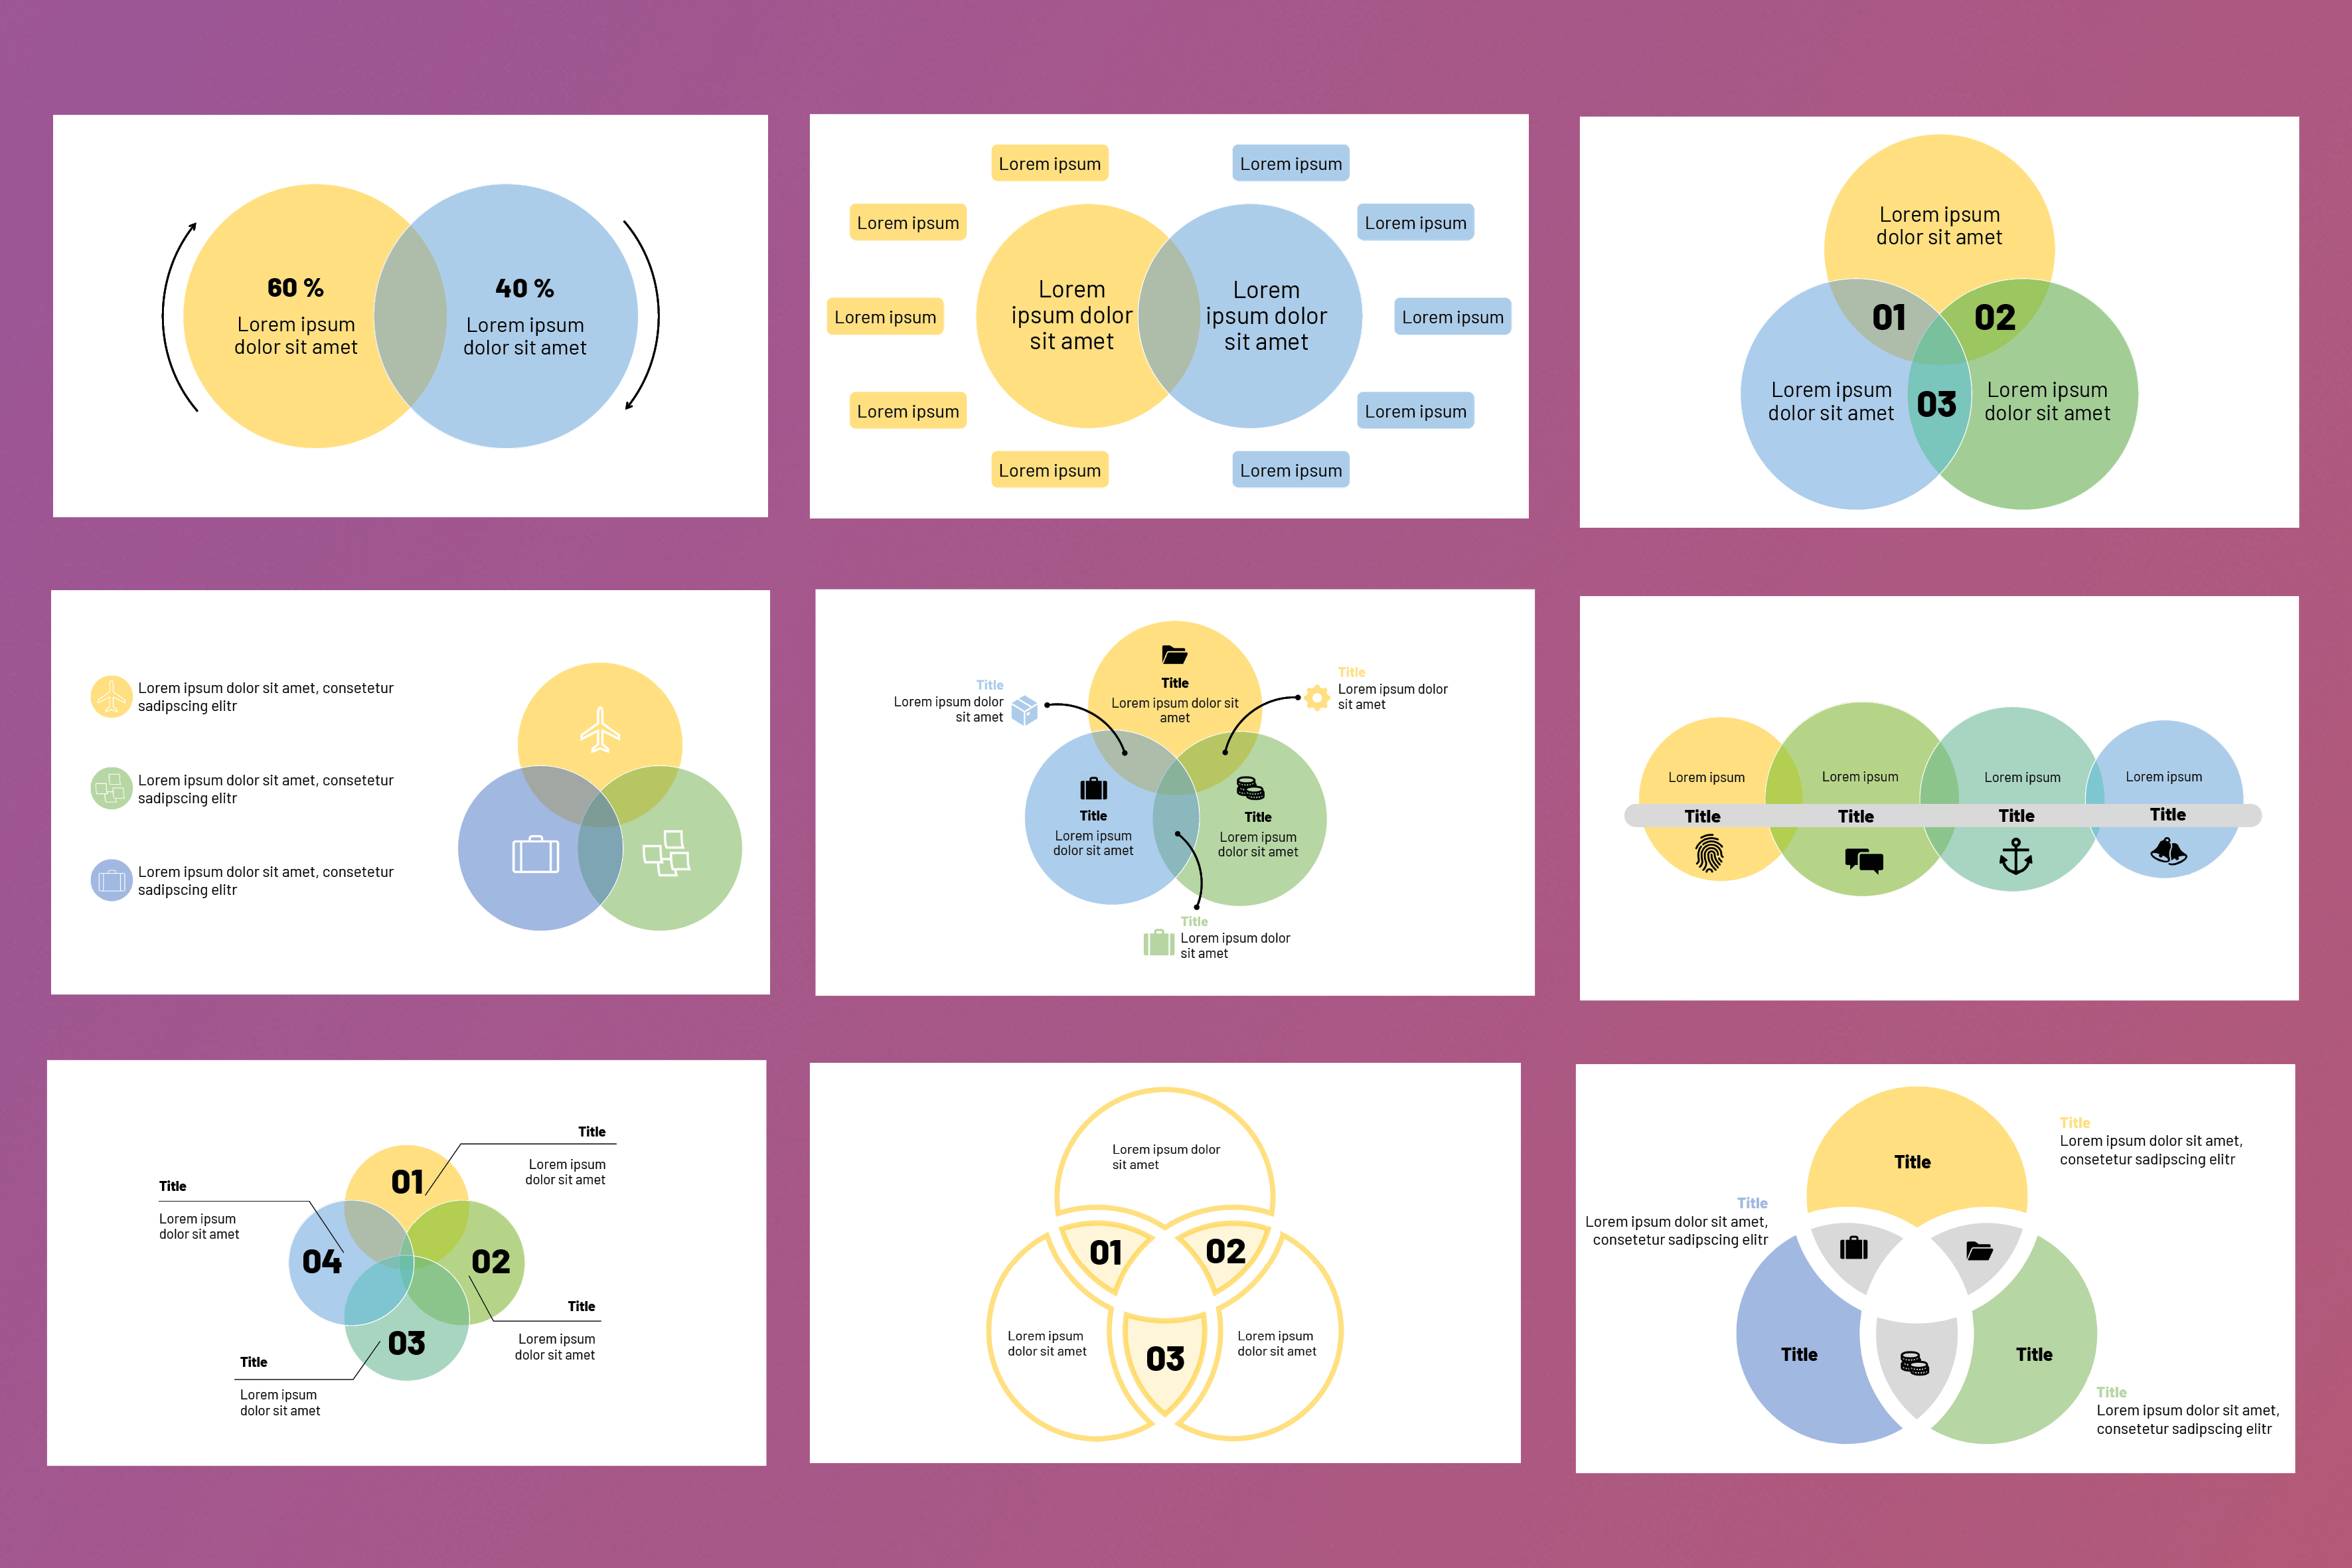
Download free PowerPoint Template


